If you must do FOOLish things, do them with enthusiasm....

Before I get too far into this 
there are just a few things you need to know

1} I hardly ever pull pranks
2} Boo-Bear and I cannot have any more kids
3} Boo-Bear HATES the smell of nail polish
4} Boo-Bear HATES messes

Confused?
Let me explain...

I have never been one to pull practical jokes...so April Fools Day has never been that exciting in my house.  But for some reason, I think it has something to do with me having this blog, this year is different.  I've actually been excited to pull a prank on Boo-Bear.  Initially {and this is where fact #2 comes into play} I was planning on having one of my pregnant friends take a piddle on a pregnancy test...I was then going to put the positive test on the bathroom counter.  Now, Boo-Bear will get home tomorrow around 2:00 AM and, as most men, will hit the bathroom up first thing.  Imagine his surprise if he found a positive pregnancy test sitting on the counter?  Teehee...

But...I am a procrastinator and never bought the pregnancy test :(

So, I came up with this instead:


Here's what I did:

1} Picked a noticeable color of nail polish

2} Laid out some Wax Paper...only Wax Paper will do

3} Opened up the bottle and laid it on it's side
As it starts pouring position the lid IN the spill ~ Be sure that the nail polish touches both the lid and the bottle.  Once it is dry/hard it will become one piece {of art...lol}.

4} Let dry

Now, since I am a procrastinator, I did this today.  I decided to do it in the garage hoping that the colder temperature would help to dry the nail polish faster.  We'll see...

5} Once dry, peel the wax paper off.  Nail polish is an enamel and will not stain or stick to any surface once it is dry...so you don't have to worry about this becoming a permanent fixture to whatever you put it on.

6} Soak a cotton ball in nail polish remover and hide it somewhere near the 'spill'...the smell will give the impression that the 'spill' is fresh

Since Boo-Bear won't be getting home until 2 AMish I plan on letting this concoction sit in the garage until I go to bed (around 11 PM).  I'll position it on the bathroom counter and hide a few cotton balls around the bathroom to make the smell very noticeable.  When he gets home from a long, tiring 30 hour run, he'll immediately find two things he absolutely HATES ~ a mess and the smell of nail polish.  

It'll NEVER occur to him that it's 
APRIL FOOLS DAY!!! 
Especially since I NEVER pull pranks...
Teehee....

Time to Laugh

by Rita Wetzel of RitasCreationsOnETSY

Are you laughing? Did you know that laughter has its own set of benefits beyond the obvious of being happy and joyful at the moment? Laughter helps us cope with stressful situations. Laughter helps us to relax when tense. Laughter can decrease pain. Laughter makes us more socially approachable. Laughter can increase our energy levels. Laughter burns calories too - maybe we can all lose weight by laughing more!! In short, laughter causes chemical changes in our body which results in all of these benefits! (If you want to learn more, just google "benefits of laughing" and you will find a wealth of information!)

Our HandmadeMN Team Members are into laughter, which contributes to making this group of artists a fun, creative bunch to hang around! Lets start with Twistmo who designs vinyl decor art. I would be ready to laugh and sing when I entered this room!! Such joy and such fun and what a stress reliever!


And, of course, who wouldn't resist a little chuckle or two when seeing these "Laugh" magnets by WildAppleDesign? I'd put them on my refrigerator which means I would lose some weight before I reached in for an afternoon snack!


And I'm laughing right now as I look at redshoes26design's Mouthy Cake Birthday Card! I've got a friend who's birthday is coming up soon... hmmm....


And I can already feel the stress running away and the tension becoming only a distant reminder as I pick up Sacred Suds "Laughing Buddha" soap for a nice hot bath! I will be mellow for sure when I'm done!


Remember to laugh each and every day! Make it a goal! Chase away that stress and tension with a good laugh! Be happy. Be joyful. And remember, our HandmadeMN team members can help you out with that too!!

My take on Pier 1 Fuzzies

My take on these super cute fuzzy wuzzy bunnies...

 Ya like???

I've met a lot of hardboiled eggs in my time...

Want to know how to get a perfect boiled egg EVERY time?


Well, I do...and this is how I do it:

I go to Egg Watchers and follow these three easy steps.

1}  How big is your egg?


I like em' EXTRA LARGE

2} Is your egg right out of the fridge?


Mine always are...

3} How do you like your eggs?


I like mine FIRM
and apparently it takes exactly
8 minutes and 50 seconds to get MY perfect egg.


Then...and this is really cool...it will time it for you.
And while the timer is timing {lol}
you get to watch a very interesting, educational video

 See the timer at the bottom?

Isn't that  
EGGcellent?

Thought you'd like it...

...a few of my favorite things...

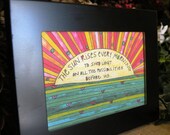
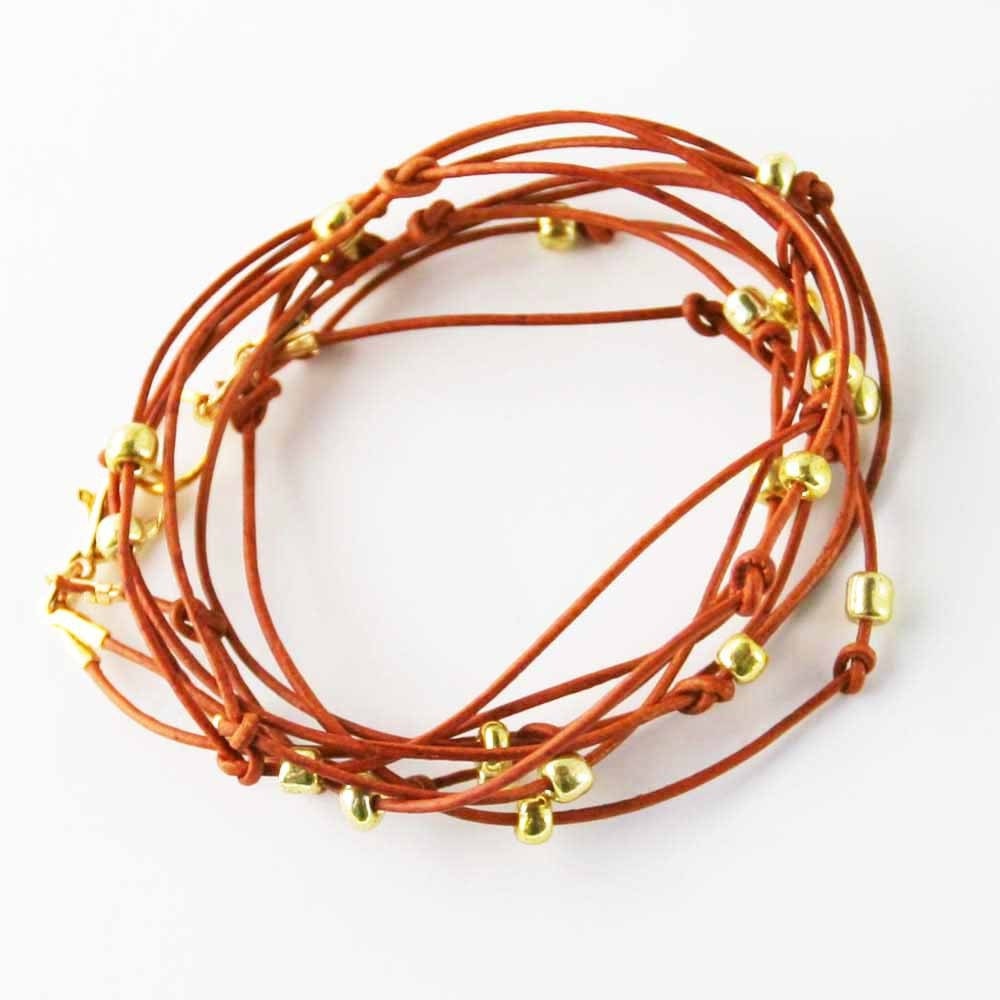
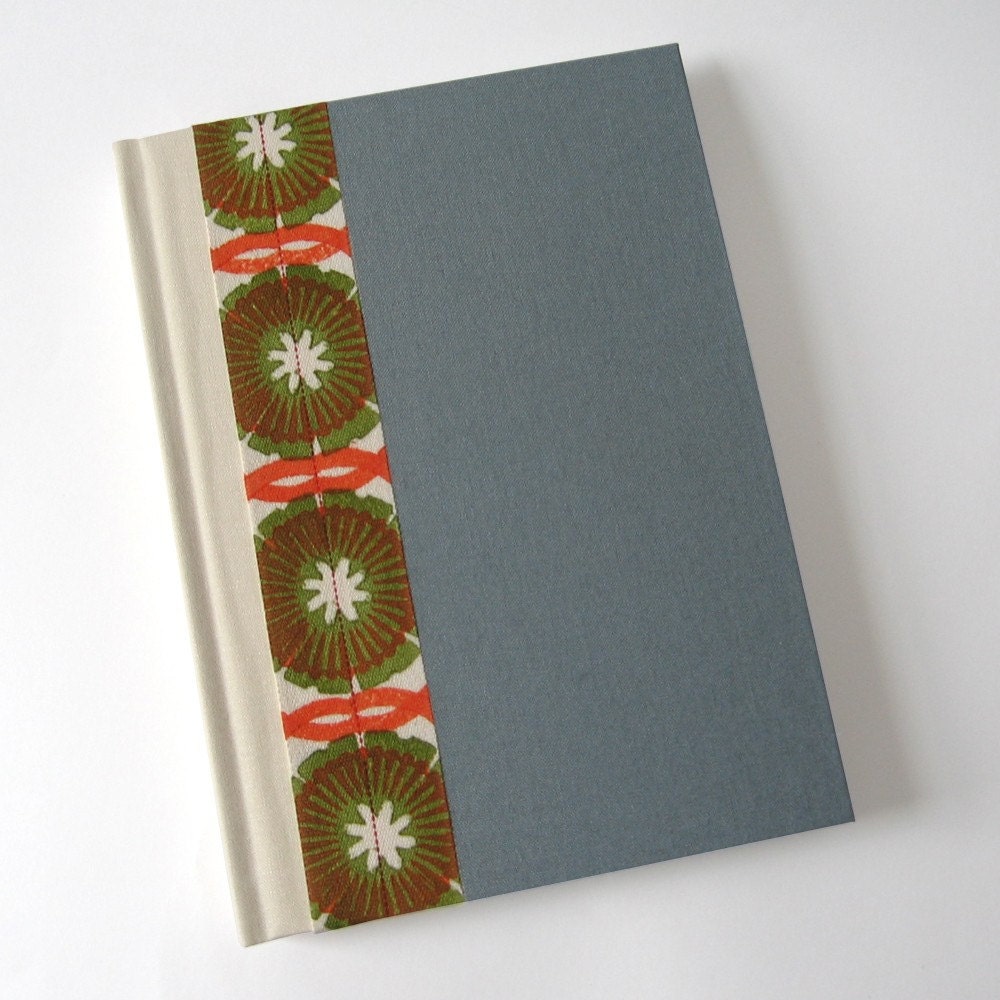
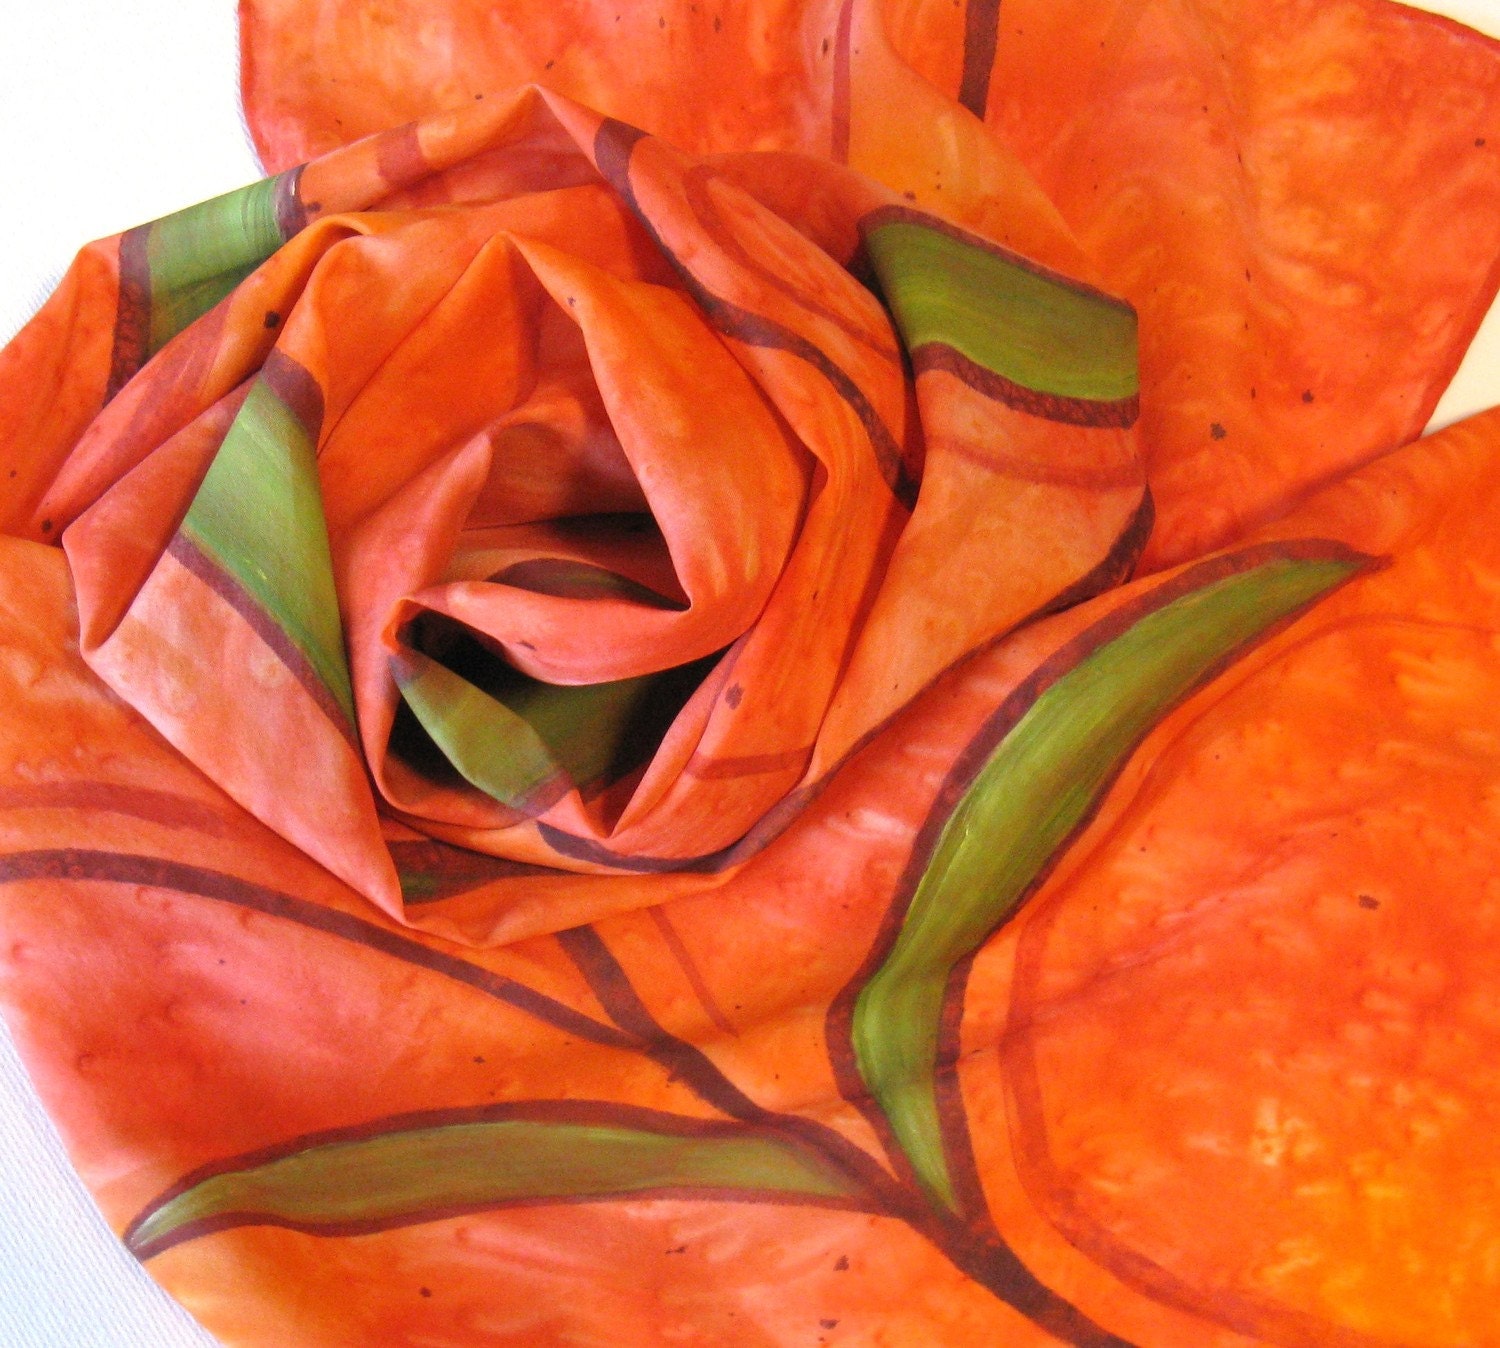
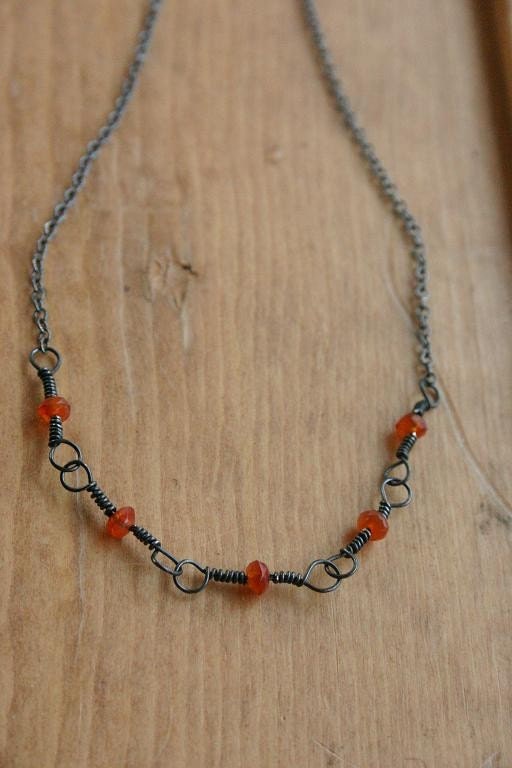
Inspired by three of Pantone's New Colors for Spring 2011--
Coral Rose, Beeswax, and Regatta

$10.00
$16.00
$65.00
$22.00
$55.00
$35.00
$25.00
$12.00
$7.00
$32.00
$25.00

Click on the above images for the listings.

HandmadeMN Giveaway - The Hobby Room

By Michelle of Evie's Tool Emporium

Congratulations to our latest giveaway winner! Thanks to all who entered and we wish you good luck with this week's giveaway!

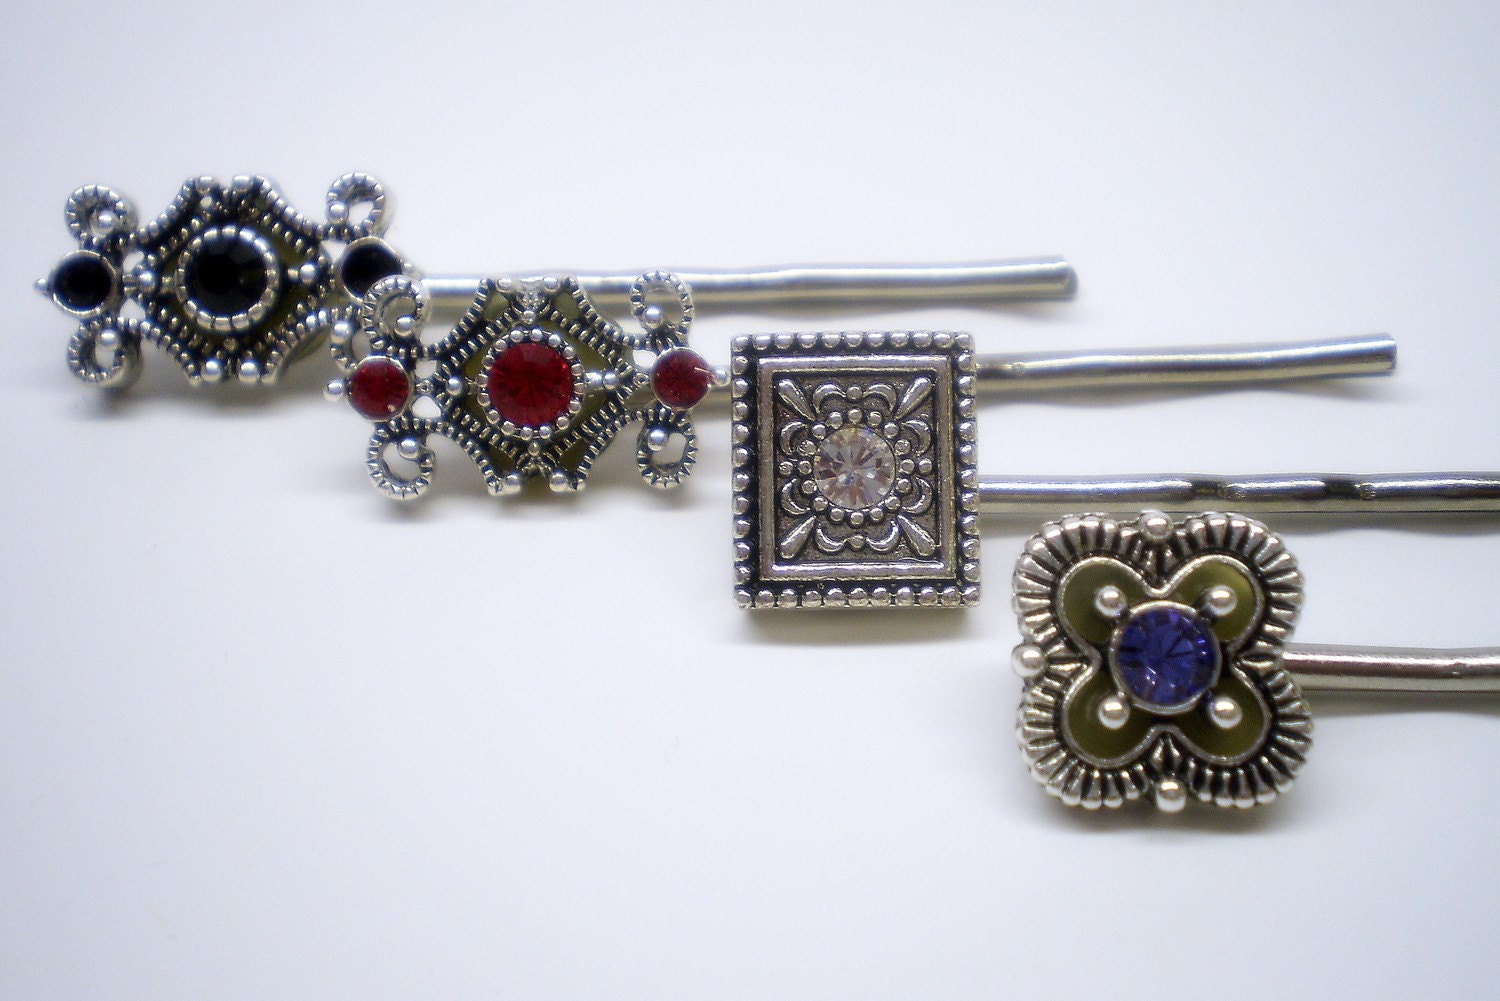
This week Andrea of The Hobby Room is giving away these gorgeous 4 Swarovski bobby pins.
These lovely Swarovski crystal bobby pins are a beautiful accessory for any woman or girl. Each measures approximately 2 1/4 inches long total, and each is made with quality bobby pins and Swarovski jewelry elements, attached with an industrial-grade metal adhesive.

How to Enter:

Visit Andrea's shop, pick your favorite item and leave a comment on this post about it.

Open to US residents and Canadian residents.

Please make sure we have a way to contact you!

For Bonus Entries:
Please leave each in a separate comment, as each comment is an entry (To qualify for extra entries you must do step one above).

1. Visit other HandmadeMN team members shops (listed in the sidebar here) and leave a comment(s) here with your favorite pieces.

2. Blog about this giveaway with a visible link back to this posting and comment here with a link to your post.

3. Tweet about this giveaway and leave a comment(s) with a link to your tweet(s).

4. Follow our blog (you want to do this anyway to learn about upcoming giveaways!). Leave a comment here letting us know you are a follower. If you are already a follower, leave a comment anyway, as each comment is an entry.

5. Follow HandmadeMN on Twitter. Comment back here with your Twitter link. Existing followers just leave your Twitter link here.

6. Become a HandmadeMN Facebook Fan. Comment back here with your Facebook name. Existing fans just leave your Facebook name here.

7. Follow thehobbyroom on Twitter. Comment back here with your Twitter link. Existing followers just leave your Twitter link here.

9. Become Andrea's Facebook Fan. Comment back here with your Facebook name. Existing fans just leave your Facebook name here.

Contest ends Saturday, April 9th, at 12:00 noon Central. One winner will be chosen by Random.org.

Good luck!
HandmadeMN members are not eligible to win.

First Things First

I've got a lot to catch up on, clearly, and some very cool news, but first things first.

I had my baby on March 7! Hence I have spent the last almost-three weeks in a cozy cocoon of new baby bliss, just getting to know my little girl Madeleine Grace (Maddie). I am still in that stage where I can't stop staring at her in disbelief of how beautiful she is. She is the most precious little chunk (she was 9 pounds when she was born, good grief!) in the world, and we are all head over heels in love with her.


She also has her days and her nights switched, so I am TI-RED. At 8pm her eyes snap open and she is ready to rock for several hours. So she and I are up in the wee hours, which is hard for me because I am so not a night owl; I am a go-to-bed-at 10, wake-up-at-6 kind of person. But all in all, we're doing great. We watch late-night TV. She's a mellow baby.


I love this phase when she stares at everything like she's astonished, her mouth this perfect little O.

Ahem. Okay, enough baby gushing.

In other news, I've been assured that the ebook release is right around the corner, any day now, so keep your eyes peeled for that. Plus, rights to Unearthly recently sold in Brazil and Hungary. Woohoo! Conquering the world!
Speaking of Unearthly out there on the shelves, a while back I promised you a video of Unearthly in the wild. I made this video (below), and I tried to put in at least one photo from every person who sent me photos in February. The key word here is "tried." For some reason, some of the photos didn't turn out--I could see them fine in the thumbnail, but when I downloaded them there was a little bit of photo at the top and then gray all the rest of the way down. This sucks, since there were some awesome photos that didn't make it in my video because of this. I will post the video as is, but if for some reason YOUR photo didn't make it in, email the photo to me again, as a jpeg of reasonable size, and I will try again and re-release the video.

I love this slideshow, btw. It makes me feel so proud and amazed every time I watch it. So, enjoy!

Click to play this Smilebox slideshow
Create your own slideshow - Powered by Smilebox
Make a free picture slideshow

DIY Memo Board Using an Old Window {tutorial}


I bought this old window frame a while back...
It was pretty beat up and had no glass....but I knew I could ROCK it out

Had the Boo~Bear drill some holes at the bottom...


Sanded it down..got all the glue off...


And, of course, gave it a coat of spray paint...


And then sanded that a little...
cuz y'all know I have to DISTRESS everything


Now for the fun part...The memo board


I bought thick, black matting...as you can see I had some extra.


So I traced the window frame on the matting and then cut it with my rotary cutter.


Cut some craft batting to size and stapled it to the matting.


Next up ~ the fabric...

I cut the fabric to size (a little bigger than the board) and then folded it over...I started with a straight edge then the corner (and so on and so on)


To fold the corners, I simply folded the corner in like so....


And then folded it over like so...


And stapled it down...

{YES, that is my RED STAPLER}

The ribbon was next...


I started with an X 
{pinned them down at each corner}
and continued to lay ribbon out 6 inches apart
{pinning each piece down as I went}


After all the ribbon was laid out 
{you guessed it} 
I stapled it

{note that I stapled the ribbon from the front and then from the back}

Then I simply nailed it to the back of the window frame...


{ oh ya...and attached the knobs }


What do y'all think of my 
Old Window Frame turned Memo Board?


I kinda dig it